Hey there, tech enthusiasts! If you're diving into the world of remote monitoring with Raspberry Pi, you're in for a treat. This little device has become a game-changer for DIY projects, home automation, and even professional setups. Whether you're a hobbyist or a seasoned pro, this guide will walk you through everything you need to know about setting up the best remote monitoring system using Raspberry Pi. So, buckle up and let's get started!
Remote monitoring with Raspberry Pi isn't just about keeping an eye on your home or workspace; it's about creating a smart environment that works for you. Whether you're monitoring security cameras, weather stations, or even your pet's activity, Raspberry Pi offers endless possibilities. In this article, we’ll explore the ins and outs of remote monitoring, from hardware setup to software configurations, and everything in between.
Before we dive deep, let’s address the elephant in the room: why Raspberry Pi? Well, it’s affordable, versatile, and ridiculously easy to work with. Plus, it has a massive community of developers and makers who share tips, tricks, and code snippets. So, whether you're building a basic monitoring system or something more complex, Raspberry Pi has got your back. Now, let’s get into the nitty-gritty!
Read also:Trey Gowdy Nose The Story Behind The Spotlight
Why Raspberry Pi is the Best Choice for Remote Monitoring
When it comes to remote monitoring, Raspberry Pi stands out for its flexibility and cost-effectiveness. But what exactly makes it the best choice? Let’s break it down:
- Price-to-Performance Ratio: Raspberry Pi models are affordable yet powerful enough to handle demanding tasks like video streaming and data logging.
- Community Support: With millions of users worldwide, you’ll never run out of tutorials, forums, and community-driven projects.
- Versatility: From weather stations to security systems, Raspberry Pi can be adapted to almost any remote monitoring need.
- Low Power Consumption: This little device sips power, making it perfect for long-term, low-maintenance setups.
So, if you're looking for a reliable, scalable, and budget-friendly solution for remote monitoring, Raspberry Pi is hands-down the best choice. But how do you actually set it up? That’s what we’re about to uncover.
Setting Up Your Raspberry Pi for Remote Monitoring
Before you can start monitoring, you need to set up your Raspberry Pi. This involves installing the OS, configuring settings, and connecting peripherals. Here's a step-by-step guide:
Step 1: Install the OS
The first step is installing an operating system on your Raspberry Pi. For remote monitoring, we recommend using Raspberry Pi OS (formerly Raspbian). Here's how:
- Download Raspberry Pi Imager from the official website.
- Select the Raspberry Pi OS Lite (if you don’t need a graphical interface) or the full version.
- Insert your microSD card into your computer and write the image to it using the Imager tool.
Once the OS is installed, you can boot up your Raspberry Pi and start configuring it.
Step 2: Configure Settings
After booting up, you’ll need to configure a few settings:
Read also:Ron Jeremy In Prison The Untold Story You Wonrsquot Believe
- Wi-Fi: Connect your Raspberry Pi to your network for remote access.
- SSH: Enable SSH for secure remote connections.
- Static IP: Set a static IP address to ensure your Pi is always accessible from the same address.
These settings will make your Raspberry Pi ready for remote monitoring. Now, let’s move on to the fun part—choosing the right software.
Choosing the Right Software for Remote Monitoring
With Raspberry Pi, you have a plethora of software options to choose from. The best software depends on your specific needs. Here are some top picks:
1. MotionEyeOS
MotionEyeOS is a lightweight OS designed specifically for surveillance cameras. It allows you to stream video, detect motion, and store footage—all with minimal setup.
2. Pi-hole
If you're monitoring network traffic, Pi-hole is a fantastic tool. It acts as a DNS server and blocks ads, giving you insights into your network’s activity.
3. Home Assistant
For a more comprehensive solution, Home Assistant is a great choice. It integrates with various sensors, cameras, and smart devices, allowing you to monitor and control your entire home.
Each of these tools has its strengths, so choose the one that aligns with your monitoring goals. Now, let’s talk hardware.
Best Hardware for Remote Monitoring with Raspberry Pi
Having the right hardware is crucial for a successful remote monitoring setup. Here are some must-haves:
1. Raspberry Pi Camera Module
The official Raspberry Pi Camera Module is perfect for video surveillance. It offers high resolution and easy integration with software like MotionEyeOS.
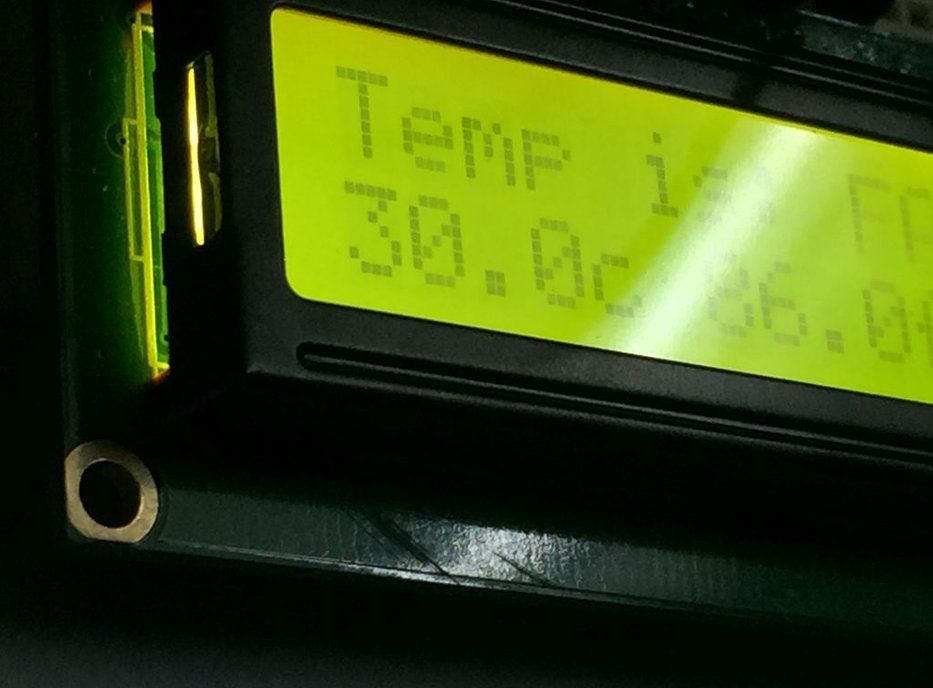
2. Temperature and Humidity Sensors
For environmental monitoring, sensors like the DHT22 are indispensable. They provide accurate readings of temperature and humidity levels.
3. External Storage
If you're planning to store large amounts of data, consider using an external SSD or HDD. This ensures you have enough space for long-term monitoring.
With the right combination of hardware and software, your Raspberry Pi can handle almost any monitoring task. Let’s now explore some advanced features.
Advanced Features for Remote Monitoring
Once you’ve set up the basics, it’s time to explore some advanced features that can take your monitoring system to the next level:
1. AI-Powered Motion Detection
Using tools like TensorFlow, you can add AI-powered motion detection to your Raspberry Pi. This allows you to detect specific objects or movements, reducing false positives.
2. Cloud Integration
Integrating your Raspberry Pi with cloud services like AWS or Google Cloud can provide scalable storage and analytics capabilities. This is especially useful for large-scale monitoring projects.
3. Automation with IFTTT
IFTTT (If This Then That) allows you to automate actions based on triggers. For example, you can set up alerts to be sent to your phone whenever motion is detected.
These features can significantly enhance the functionality of your remote monitoring system. But how do you ensure everything runs smoothly? Let’s discuss maintenance.
Maintaining Your Remote Monitoring System
Regular maintenance is key to ensuring your Raspberry Pi-based monitoring system stays reliable. Here are some tips:
- Keep Software Updated: Regularly update your OS and software to patch vulnerabilities and add new features.
- Monitor Storage: Keep an eye on your storage usage to prevent running out of space.
- Backup Data: Regularly back up your data to avoid losing important information.
By following these maintenance tips, you can ensure your system remains robust and efficient. Now, let’s take a look at some real-world applications.
Real-World Applications of Remote Monitoring with Raspberry Pi
Remote monitoring with Raspberry Pi isn’t just theoretical—it has practical applications in various fields:
1. Home Security
Use Raspberry Pi to monitor your home’s entry points, detect intruders, and send alerts to your phone.
2. Agricultural Monitoring
Farmers can use Raspberry Pi to monitor soil moisture, temperature, and other environmental factors to optimize crop growth.
3. Weather Stations
Set up a Raspberry Pi-based weather station to collect data on temperature, humidity, wind speed, and more.
These applications demonstrate the versatility of Raspberry Pi in remote monitoring. But where do you go from here?
Next Steps for Your Remote Monitoring Journey
Now that you’ve learned the basics and beyond, here are some next steps to consider:
- Experiment with New Sensors: Try out different sensors to expand the capabilities of your system.
- Join the Community: Engage with the Raspberry Pi community to learn from others and share your own projects.
- Explore New Software: Keep an eye on emerging software and tools that can enhance your monitoring setup.
With these steps, you’ll continue to grow your skills and improve your remote monitoring system. Let’s wrap things up with a quick summary.
Conclusion
Remote monitoring with Raspberry Pi is a powerful and versatile solution for a wide range of applications. From home security to agricultural monitoring, this little device offers endless possibilities. By following the steps outlined in this guide, you can set up a robust and efficient monitoring system tailored to your needs.
So, what are you waiting for? Grab your Raspberry Pi, gather your components, and start building your dream monitoring system. And don’t forget to share your experience with the community—it’s always great to see what others are creating!
Call to Action: Leave a comment below with your favorite Raspberry Pi project or share this article with fellow tech enthusiasts. Together, let’s make the world smarter, one Raspberry Pi at a time!
Table of Contents
- Why Raspberry Pi is the Best Choice for Remote Monitoring
- Setting Up Your Raspberry Pi for Remote Monitoring
- Choosing the Right Software for Remote Monitoring
- Best Hardware for Remote Monitoring with Raspberry Pi
- Advanced Features for Remote Monitoring
- Maintaining Your Remote Monitoring System
- Real-World Applications of Remote Monitoring with Raspberry Pi
- Next Steps for Your Remote Monitoring Journey
- Conclusion