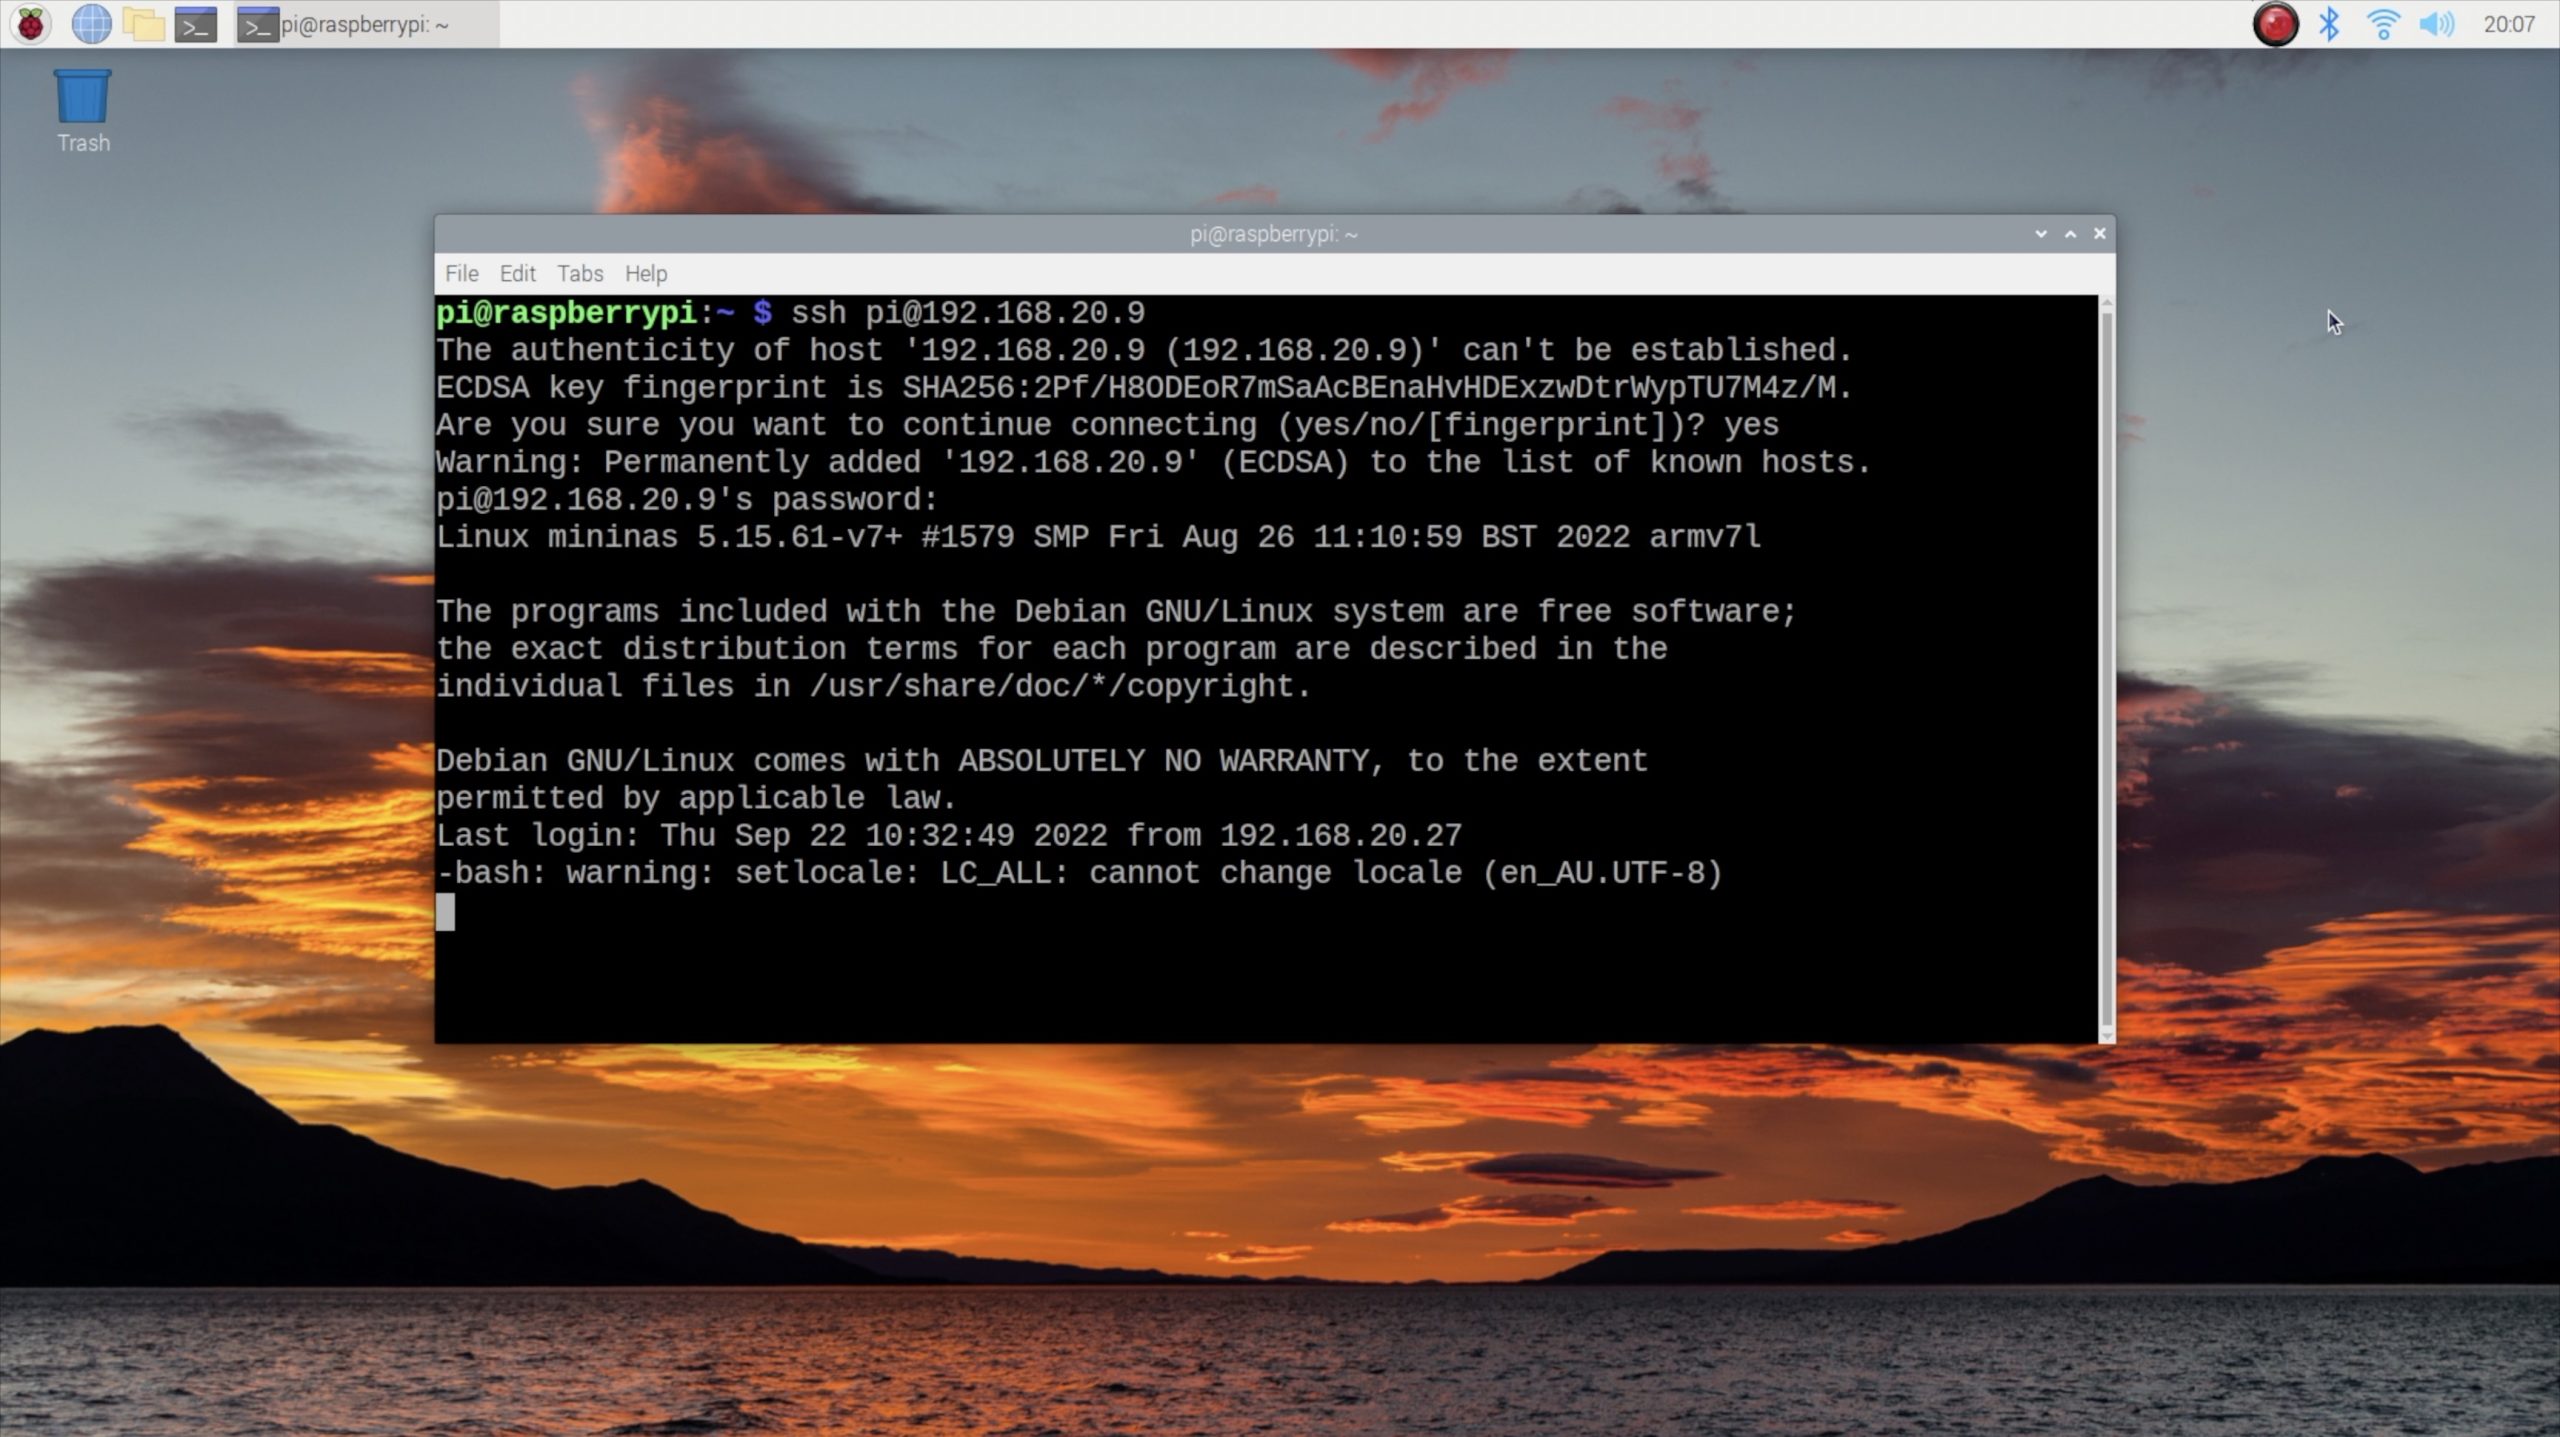
Ever wondered how to SSH into your Raspberry Pi from anywhere in the world? Let’s dive right into it, mate. SSH (Secure Shell) is like the secret handshake that lets you control your Pi remotely, even when you're chilling on the other side of the globe. Whether you're a tech enthusiast or just trying to set up your home automation system, getting SSH working over the internet can be a game-changer. But hold up—there are a few things you need to know before diving headfirst into this adventure.
First off, SSH isn’t just some random acronym; it’s a protocol designed to secure communication between devices. Think of it as a secure tunnel that keeps your data safe while it zips around the internet. For Raspberry Pi users, SSH is a must-have tool for remote management. But here’s the kicker: connecting your Pi to the internet via SSH can be a bit tricky if you don’t know what you’re doing. Don’t worry, though—we’ve got your back.
In this guide, we’ll walk you through the process step-by-step, from setting up SSH on your Pi to configuring your router and using tools like ngrok or PageKite to make everything work smoothly. By the end of this, you’ll be SSH-ing into your Pi like a pro, no matter where you are. So grab a coffee, get comfy, and let’s get started!
Read also:Does Rachel Maddow Have Children Discover The Truth Behind Her Personal Life
Table of Contents
- What Is SSH and Why Do You Need It?
- How to Enable SSH on Your Raspberry Pi
- Router Configuration for SSH Access
- Using Ngrok to Simplify SSH Connections
- PageKite: An Alternative Solution
- Security Best Practices for SSH
- Troubleshooting Tips for SSH Issues
- Frequently Asked Questions About SSH
- Real-World Use Cases for SSH on Pi
- Wrapping It Up: Your Next Steps
What Is SSH and Why Do You Need It?
SSH, or Secure Shell, is like the invisible cloak of the tech world. It allows you to securely connect to a remote device, such as your Raspberry Pi, and execute commands as if you were sitting right in front of it. If you’re working on projects that require remote access—think home automation, server management, or even running a web server—SSH is your best friend.
But why do you need SSH over the internet? Well, imagine this: you’re on vacation, sipping margaritas by the beach, but you suddenly remember that you forgot to update your Pi’s software. With SSH, you can log in remotely, run those updates, and save yourself a trip back home. Cool, right?
Now, let’s break it down further. SSH works over TCP/IP, which means it can traverse the internet seamlessly. When you SSH into your Pi, you’re essentially creating a secure connection that encrypts all data transferred between your device and the Pi. This makes it super safe, even on public networks.
Benefits of Using SSH
- Secure communication between devices
- Remote access to your Raspberry Pi from anywhere
- Ability to manage files, run scripts, and update software remotely
- Encrypted data transfer for added security
How to Enable SSH on Your Raspberry Pi
Before you can SSH into your Pi over the internet, you need to enable SSH on the device itself. Don’t worry—it’s super easy. Here’s how you do it:
Method 1: Using the Raspberry Pi Configuration Tool
- Boot up your Raspberry Pi and open the terminal.
- Type
sudo raspi-configand hit Enter. - Navigate to
Interfacing Optionsand selectSSH. - Choose
Enableand exit the configuration tool.
Method 2: Creating an SSH File
Read also:Jonathan Taylor Thomas Now 2025 The Journey From Child Star To Modernday Icon
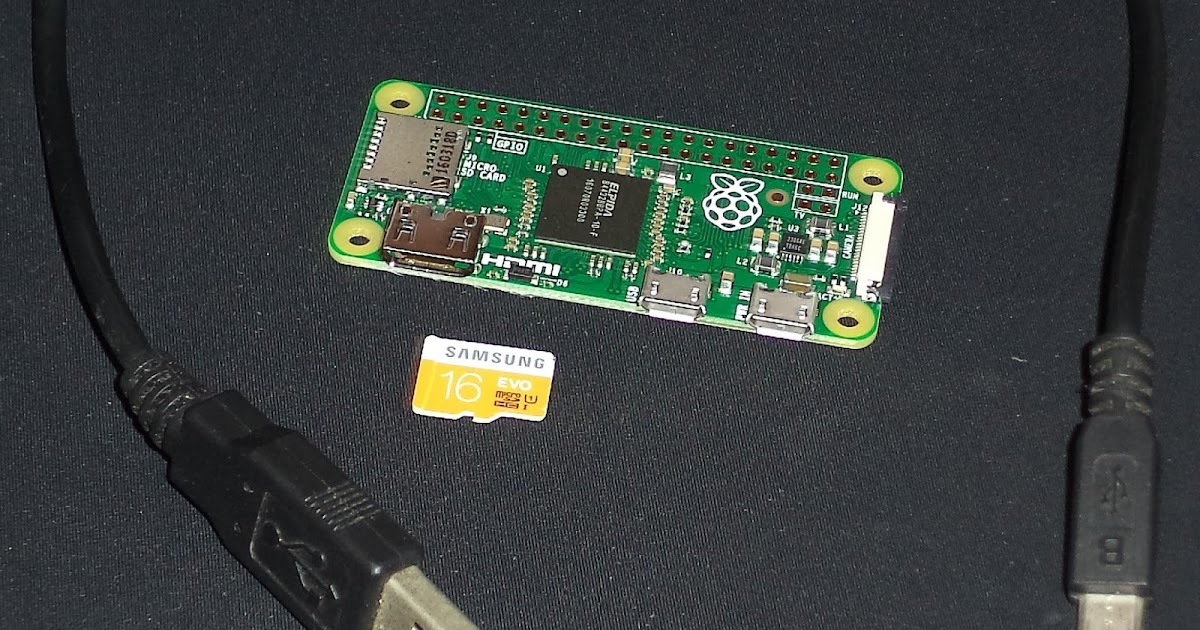
- Insert your Raspberry Pi’s SD card into your computer.
- Create an empty file named
ssh(no extension) in the boot partition. - Reinsert the SD card into your Pi and boot it up. SSH will be enabled automatically.
And that’s it! Your Raspberry Pi is now ready to accept SSH connections. Next up, we’ll tackle how to configure your router for remote access.
Router Configuration for SSH Access
Alright, so you’ve got SSH enabled on your Pi. But here’s the deal: by default, your Pi is hidden behind your router’s firewall. To access it over the internet, you need to configure port forwarding on your router. Here’s how you do it:
Step 1: Find Your Pi’s Local IP Address
Open the terminal on your Pi and type hostname -I. This will display your Pi’s local IP address, which usually looks something like 192.168.1.100.
Step 2: Log Into Your Router
Open a web browser and type your router’s IP address (usually 192.168.0.1 or 192.168.1.1) into the address bar. Enter your login credentials when prompted.
Step 3: Set Up Port Forwarding
Look for a section in your router’s settings called Port Forwarding or Virtual Servers. Add a new rule with the following details:
- Service Name: SSH
- External Port: 22
- Internal IP Address: Your Pi’s local IP address
- Internal Port: 22
Save the changes and restart your router if necessary. Once everything is set up, you should be able to SSH into your Pi using your public IP address.
Tips for Router Configuration
- Make sure your Pi’s IP address is static to avoid issues with DHCP.
- Use a strong password for your SSH connection to prevent unauthorized access.
- Consider using a non-standard port number for added security.
Using Ngrok to Simplify SSH Connections
Configuring port forwarding can be a bit of a hassle, especially if you’re not familiar with router settings. That’s where ngrok comes in. Ngrok is a tool that creates a secure tunnel to your local network, allowing you to SSH into your Pi without messing with your router.
Here’s how you can use ngrok:
- Download and install ngrok from ngrok.com.
- Run the command
ngrok tcp 22in your terminal. - Ngrok will generate a public URL that you can use to SSH into your Pi.
Voilà! You’re now connected to your Pi over the internet without the need for port forwarding. Easy peasy, right?
Advantages of Using Ngrok
- No router configuration required
- Automatically handles dynamic IP addresses
- Provides a secure tunnel for SSH connections
PageKite: An Alternative Solution
If ngrok isn’t your cup of tea, you can try PageKite. PageKite is another tool that allows you to expose your local network to the internet. It’s similar to ngrok but offers some additional features, like domain name hosting.
Here’s how to set up PageKite:
- Install PageKite on your Raspberry Pi by running
sudo apt install pagekite. - Run the command
pagekite.py 22 YOURSUBDOMAIN.pagekite.me ssh. - PageKite will create a public URL that you can use to SSH into your Pi.
PageKite is a great alternative if you want more control over your SSH connections. Plus, it’s free for personal use!
Why Choose PageKite?
- Free for personal use
- Supports domain name hosting
- Easy to set up and use
Security Best Practices for SSH
While SSH is inherently secure, there are a few things you can do to make your connections even safer:
1. Use Strong Passwords
Never use simple or easily guessable passwords for your SSH connections. Use a combination of uppercase and lowercase letters, numbers, and symbols to create strong, unique passwords.
2. Disable Root Login
By default, SSH allows root login, which can be a security risk. To disable it, edit the SSH config file:
- Open the file
/etc/ssh/sshd_configin a text editor. - Find the line
PermitRootLogin yesand change it toPermitRootLogin no. - Restart the SSH service with
sudo service ssh restart.
3. Use Key-Based Authentication
Instead of using passwords, you can use SSH keys for authentication. This is more secure and eliminates the risk of brute-force attacks.
- Generate a key pair on your local machine with
ssh-keygen. - Copy the public key to your Pi with
ssh-copy-id pi@YOUR_PI_IP. - Test the connection by running
ssh pi@YOUR_PI_IP.
Troubleshooting Tips for SSH Issues
Even with the best setup, things can sometimes go wrong. Here are some common SSH issues and how to fix them:
1. Connection Refused
If you’re getting a “Connection refused” error, check the following:
- Make sure SSH is enabled on your Pi.
- Verify that port forwarding is correctly configured on your router.
- Ensure that your Pi’s IP address hasn’t changed.
2. Timeout Errors
Timeout errors usually indicate a network issue. Try the following:
- Check your internet connection.
- Ensure that your router’s firewall isn’t blocking SSH traffic.
- Use a tool like ngrok or PageKite to bypass router issues.
Frequently Asked Questions About SSH
Still have questions? Here are some common queries about SSH and Raspberry Pi:
Q: Can I SSH into my Pi without a monitor?
A: Yes, you can SSH into your Pi without a monitor by connecting it to your local network and using its IP address to log in.
Q: Is SSH safe to use over the internet?
A: Yes, SSH is safe as long as you follow best practices like using strong passwords and enabling key-based authentication.
Q: Can I SSH into my Pi from my phone?
A: Absolutely! There are plenty of SSH apps available for both Android and iOS that let you connect to your Pi on the go.
Real-World Use Cases for SSH on Pi
SSH isn’t just for tech geeks—it has plenty of practical applications. Here are a few examples:
1. Home Automation
Use SSH to remotely control your smart home devices, check sensor readings, or update software on your