Let me drop some knowledge on you right off the bat – SSH Raspberry Pi remotely is one of the most powerful tools for makers, developers, and tech enthusiasts. Imagine being able to control your Raspberry Pi from anywhere in the world, whether it’s to manage a home automation system or run complex scripts. Sounds cool, right? But before we dive deep, let’s break it down. SSH (Secure Shell) is like a secret tunnel that lets you communicate with your Pi securely, no matter where you are. It’s not just about remote access; it’s about doing it safely.
Now, why should you care? Because in this digital age, having remote access to your devices can save you time, effort, and headaches. Picture this: you’re miles away from home, and suddenly you realize you need to tweak something on your Pi. With SSH, you don’t have to rush back or beg a friend to do it for you. You just fire up your laptop, connect, and voilà – problem solved!
But hold up, there’s more to it than just connecting. Security is key, and SSH ensures your connection is encrypted and protected from prying eyes. So, buckle up, because we’re about to take you on a journey through the ins and outs of SSH Raspberry Pi remotely. Let’s get started!
Read also:Khabib Nurmagomedov House A Glimpse Into The Wealth And Lifestyle Of The Mma Legend
Table of Contents:
- What is SSH and Why Does It Matter?
- Raspberry Pi Basics: Setting the Foundation
- How to Enable SSH on Raspberry Pi
- Connecting to Raspberry Pi Remotely
- Top Security Tips for SSH
- Troubleshooting Common SSH Issues
- Essential Tools for SSH
- Real-World Use Cases for SSH Raspberry Pi
- Optimizing Your SSH Setup
- Wrapping It Up: Your Next Steps
What is SSH and Why Does It Matter?
Let’s kick things off with the basics. SSH stands for Secure Shell, and it’s basically the superhero of remote connections. Think of it as a secure way to communicate with your Raspberry Pi, even if you’re not physically near it. SSH encrypts all the data flying back and forth between your computer and your Pi, making sure no one can snoop around or mess with your stuff.
Here’s the deal: SSH isn’t just for Raspberry Pi enthusiasts. It’s widely used by IT professionals, developers, and anyone who needs to manage servers or devices remotely. But when it comes to the Pi, SSH becomes especially handy because of its versatility and ease of use.
And let’s not forget the big perk – SSH is built right into the Raspberry Pi OS, so you don’t need to install anything extra. It’s like having a secret weapon already loaded and ready to go. So whether you’re tinkering with home automation, running a web server, or just testing out some Python scripts, SSH has got your back.
Raspberry Pi Basics: Setting the Foundation
Understanding Your Device
Before we dive into SSH, it’s important to know what makes the Raspberry Pi tick. This little device is more than just a hobbyist’s toy – it’s a full-fledged computer capable of handling serious tasks. From media centers to IoT projects, the Pi can do it all. But to SSH into it, you’ll need to know a few key details.
- IP Address: This is your Pi’s unique identifier on the network. Think of it as its digital address.
- Username and Password: You’ll need these to log in. The default for Raspberry Pi OS is usually "pi" for the username and "raspberry" for the password, but you should change this ASAP for security reasons.
- Network Configuration: Make sure your Pi is connected to the same network as your computer, or set up port forwarding if you’re accessing it from outside your local network.
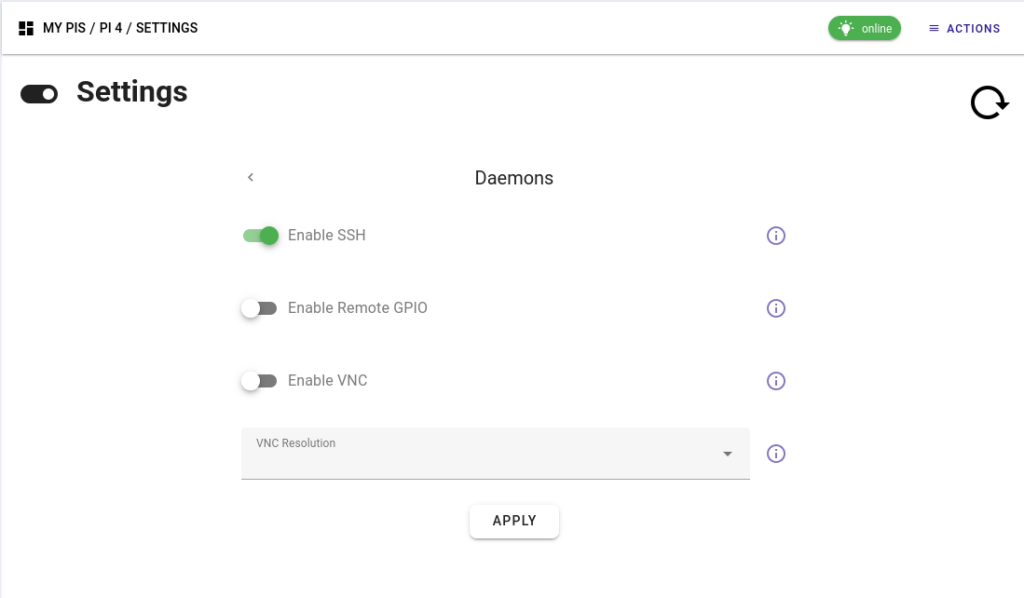
How to Enable SSH on Raspberry Pi
Alright, let’s get our hands dirty. Enabling SSH on your Raspberry Pi is surprisingly easy, but there are a couple of ways to do it. Follow these steps, and you’ll be good to go:
Read also:Trey Gowdy Nose The Story Behind The Spotlight
Method 1: Using the Raspberry Pi Configuration Tool
- Boot up your Raspberry Pi and log in.
- Open the terminal and type
sudo raspi-config. - Navigate to "Interfacing Options" and select "SSH".
- Choose "Yes" to enable SSH and then reboot your Pi.
Method 2: Adding an SSH File to the SD Card
If you don’t have a monitor or keyboard handy, you can still enable SSH by adding a file called "ssh" (no extension) to the boot partition of your SD card. Once you insert the card into your Pi and power it on, SSH will automatically be enabled.
Connecting to Raspberry Pi Remotely
Now that SSH is enabled, it’s time to connect. Here’s how you can do it from different devices:
From a Linux or macOS Computer
Linux and macOS users have it easy. Just open your terminal and type:
ssh pi@your_pi_ip_addressReplace "your_pi_ip_address" with the actual IP address of your Raspberry Pi. Hit Enter, and you’ll be prompted for the password. Boom – you’re in!
From a Windows Computer
Windows users have a couple of options. You can use the built-in Windows Terminal or download a tool like PuTTY. Here’s how to do it with PuTTY:
- Download and install PuTTY from the official website.
- Open PuTTY and enter your Pi’s IP address in the "Host Name" field.
- Set the port to 22 (the default SSH port) and click "Open".
- Log in using your username and password.
Top Security Tips for SSH
Security should always be at the forefront of your mind when using SSH. Here are a few tips to keep your connection safe:
- Change the Default Password: Never stick with the default "raspberry" password. Create a strong, unique one instead.
- Use Key-Based Authentication: Instead of passwords, generate SSH keys for added security. It’s like having a digital handshake that only you and your Pi understand.
- Disable Root Login: Restricting root access adds another layer of protection against unauthorized access.
- Use a Firewall: Tools like ufw (Uncomplicated Firewall) can help you block unwanted traffic and keep your Pi safe.
Troubleshooting Common SSH Issues
Even the best-laid plans can hit a snag. Here are some common SSH issues and how to fix them:
Issue 1: "Connection Refused"
This usually means SSH isn’t enabled or the IP address is incorrect. Double-check both and try again.
Issue 2: "Permission Denied"
This often happens when the password is wrong or key-based authentication isn’t set up correctly. Verify your credentials and ensure your keys are properly configured.
Essential Tools for SSH
There are a ton of tools out there to make your SSH experience smoother. Here are a few worth checking out:
- PuTTY: A classic for Windows users.
- Bitvise SSH Client: A powerful alternative for Windows with more features.
- Termius: A cross-platform SSH client that works on iOS, Android, macOS, and Windows.
Real-World Use Cases for SSH Raspberry Pi
SSH isn’t just for geeks – it has practical applications for everyday users. Here are a few examples:
Home Automation
Control your smart home devices from anywhere using SSH. Whether you want to turn off the lights or adjust the thermostat, SSH makes it possible.
Web Hosting
Run a personal website or blog on your Raspberry Pi and manage it remotely via SSH. It’s a cost-effective way to host your content.
Optimizing Your SSH Setup
Once you’ve got SSH up and running, there are a few tweaks you can make to optimize your setup:
- Use a Static IP Address: This ensures your Pi’s IP doesn’t change, making it easier to connect.
- Enable SSH Tunneling: Forward ports securely for applications like VNC or web servers.
- Regularly Update Your Pi: Keep your OS and software up to date to patch security vulnerabilities.
Wrapping It Up: Your Next Steps
SSH Raspberry Pi remotely is more than just a tech trick – it’s a game-changer for anyone serious about tinkering with their Pi. Whether you’re managing servers, automating your home, or just playing around with code, SSH gives you the flexibility and security you need to get things done.
So what’s next? Start by enabling SSH on your Pi and experimenting with different tools and configurations. Don’t forget to prioritize security – it’s the foundation of a reliable setup. And if you run into any issues, remember the troubleshooting tips we covered.
Now it’s your turn. Have you tried SSH Raspberry Pi remotely? Share your experience in the comments below, or drop a line if you have any questions. Let’s keep the conversation going!