So, you've got your hands on a Raspberry Pi and now you're wondering how to keep an eye on its performance. Raspberry Pi resource monitoring is like having a personal assistant that keeps tabs on everything your little device is doing. Whether you're running a home server, automating your smart home, or just tinkering around, monitoring those resources is key to making sure everything runs smoothly.
Imagine this: your Raspberry Pi is like a tiny powerhouse, but it’s not invincible. It needs some TLC to ensure it doesn’t overheat, run out of memory, or get bogged down with too many processes. That’s where resource monitoring comes in. By keeping track of CPU usage, memory, disk space, and network activity, you can make sure your Pi stays healthy and happy.
And guess what? You don’t need to be a rocket scientist to set up resource monitoring on your Raspberry Pi. With a few simple tools and some basic knowledge, you can have your own dashboard up and running in no time. Let’s dive in and explore how you can harness the power of Raspberry Pi resource monitoring to take your projects to the next level.
Read also:Is Kamala An Alcoholic Exploring The Rumors Facts And Truth Behind The Headlines
Why Raspberry Pi Resource Monitoring Matters
Let’s face it, the Raspberry Pi is a beast when it comes to versatility. But like any machine, it has its limits. Monitoring its resources helps you understand how it’s performing and identify potential bottlenecks before they become real problems. Think of it like checking the oil and tire pressure in your car—regular maintenance keeps things running smoothly.
Here’s the deal: if you’re running a headless server, automating home devices, or even mining crypto (hey, we won’t judge), you need to know what’s going on under the hood. Without proper monitoring, you could end up with a bricked Pi or, worse, lose important data. By keeping an eye on CPU usage, memory consumption, and storage space, you can prevent disasters and optimize performance.
Plus, let’s not forget about efficiency. A well-monitored Raspberry Pi can help you tweak settings to get the most out of its hardware. Whether you’re tweaking overclocking settings or adjusting background processes, resource monitoring gives you the insights you need to fine-tune your setup.
Understanding the Basics of Resource Monitoring
Before we jump into the nitty-gritty, let’s break down what resource monitoring actually means. In simple terms, it’s the process of tracking various metrics related to your Raspberry Pi’s performance. This includes CPU usage, memory allocation, disk space, network activity, and even temperature. Each of these factors plays a crucial role in how well your Pi performs.
Think of your Raspberry Pi as a busy little bee. It’s constantly juggling tasks, managing processes, and handling data. Resource monitoring is like giving that bee a checklist to make sure it’s not overworking itself. By monitoring these resources, you can identify which tasks are hogging the most resources and make adjustments accordingly.
For example, if you notice that your CPU is consistently running at 90%, you might want to consider reducing the number of background processes or upgrading to a more powerful Pi model. Similarly, if your disk space is running low, it might be time to clean up old files or expand your storage. Resource monitoring gives you the data you need to make informed decisions.
Read also:Meet Marcello Hernandezs Parents The Heartwarming Story Behind The Scenes
Key Metrics to Monitor
So, what exactly should you be keeping an eye on? Here’s a quick rundown of the most important metrics:
- CPU Usage: Measures how much processing power your Pi is using. High CPU usage can lead to overheating and reduced performance.
- Memory (RAM): Tracks how much memory is being used by running processes. Running out of RAM can cause your Pi to slow down or crash.
- Disk Space: Monitors the amount of storage available on your SD card. Running out of space can prevent new data from being written.
- Network Activity: Shows how much data is being sent and received over your network. High network usage can slow down your internet connection.
- Temperature: Keeps tabs on the internal temperature of your Pi. Overheating can cause performance issues or even damage your device.
Tools for Raspberry Pi Resource Monitoring
Now that you know why resource monitoring matters and what to monitor, let’s talk about the tools you can use to get the job done. There are plenty of options out there, ranging from simple command-line utilities to full-featured dashboards. Here are some of the best tools for Raspberry Pi resource monitoring:
1. htop
htop is a popular command-line tool that provides a real-time view of your Pi’s CPU, memory, and process activity. It’s easy to use and gives you a detailed breakdown of what’s happening on your system. Best of all, it’s free and open-source.
2. Glances
Glances takes resource monitoring to the next level by offering a more advanced interface than htop. It provides detailed information about CPU, memory, disk usage, network activity, and even temperature. Glances is perfect for those who want a more comprehensive view of their Pi’s performance.
3. vnStat
If you’re more concerned about network activity, vnStat is the tool for you. It monitors bandwidth usage over time and provides detailed reports on how much data is being sent and received. This is especially useful if you’re running a server or using your Pi as a router.
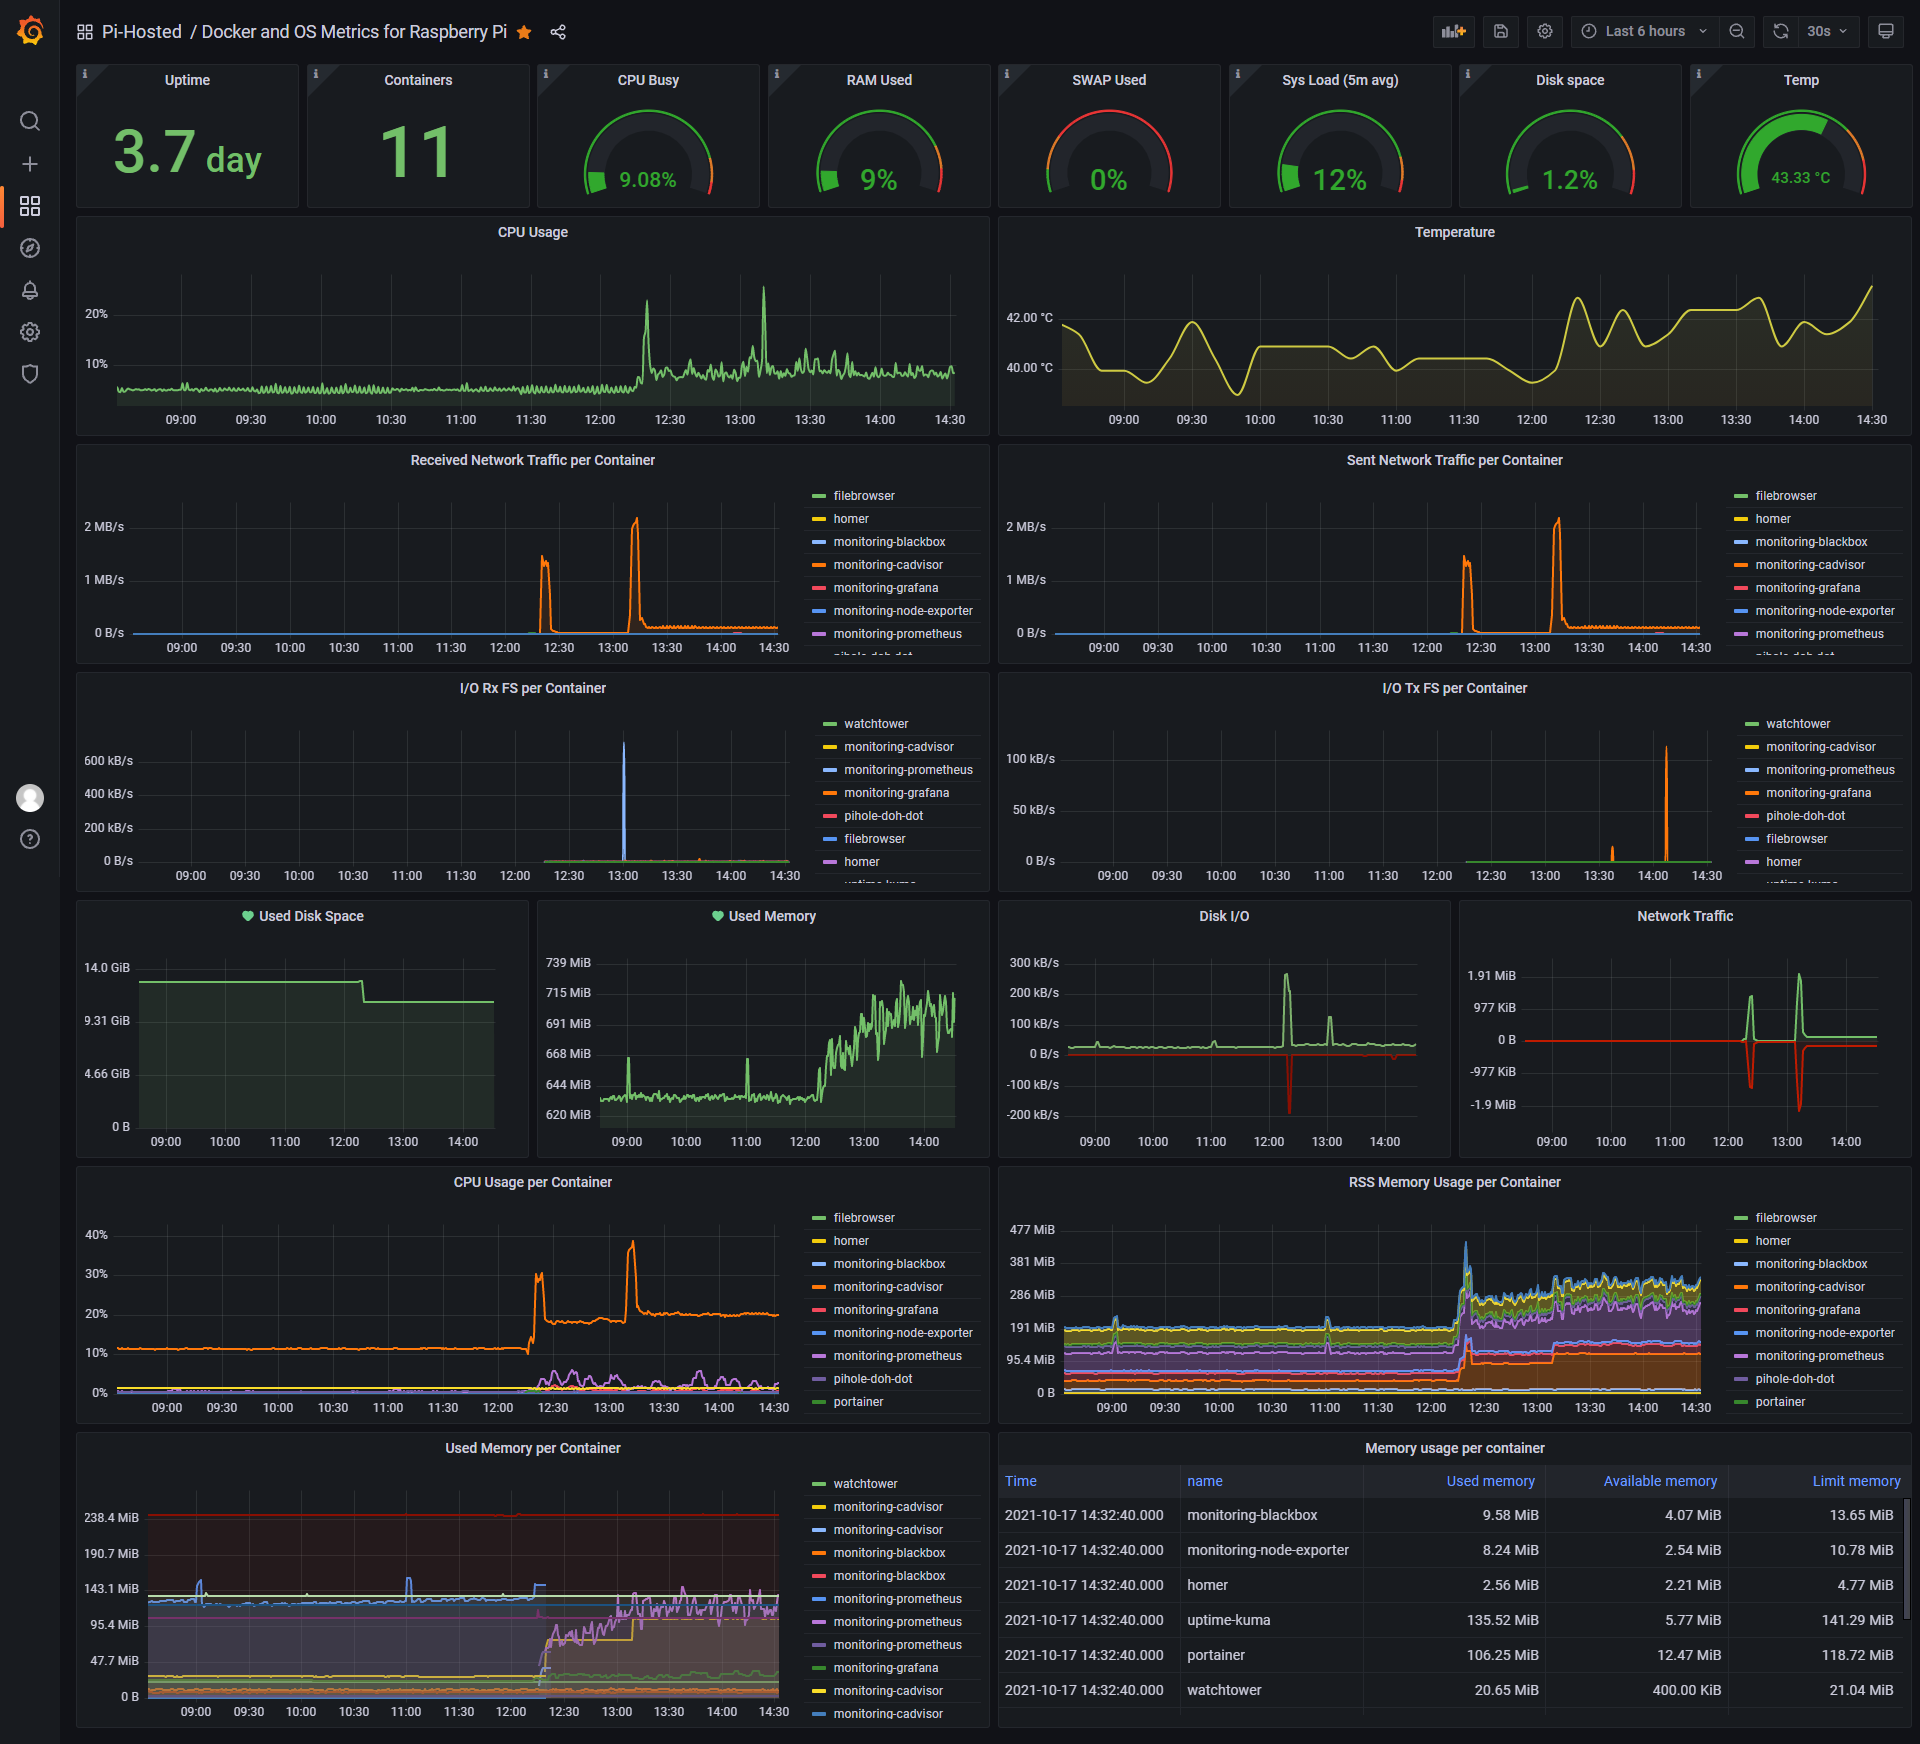
4. Grafana + Prometheus
For the more advanced users, Grafana combined with Prometheus offers a powerful solution for monitoring your Raspberry Pi. These tools allow you to create custom dashboards and set up alerts for when certain thresholds are reached. It’s a bit more complex to set up, but the results are worth it.
Setting Up Resource Monitoring on Your Raspberry Pi
Alright, let’s get our hands dirty and set up some resource monitoring on your Raspberry Pi. Don’t worry, it’s not as scary as it sounds. Here’s a step-by-step guide to help you get started:
Step 1: Update Your Pi
Before we do anything else, make sure your Pi is up to date. Open a terminal and run the following commands:
sudo apt update && sudo apt upgrade
Step 2: Install htop
Now let’s install htop. This is as simple as running:
sudo apt install htop
Once installed, you can launch htop by typing:
htop
Voila! You should now see a real-time view of your Pi’s resources.
Step 3: Install Glances
If you want something a bit more advanced, try installing Glances:
sudo apt install glances
Then launch it with:
glances
You’ll get a more detailed view of your Pi’s performance, including temperature and disk usage.
Advanced Monitoring Techniques
Once you’ve got the basics down, you might want to explore some more advanced monitoring techniques. Here are a few ideas to take your Raspberry Pi resource monitoring to the next level:
1. Setting Up Alerts
Wouldn’t it be great if your Pi could notify you when something goes wrong? With tools like Prometheus and Grafana, you can set up alerts that notify you via email or SMS when certain thresholds are reached. For example, you could get an alert if your CPU temperature exceeds 70°C or if your disk space drops below 10GB.
2. Creating Dashboards
Visualizing your data is key to understanding what’s going on with your Pi. Tools like Grafana allow you to create custom dashboards that display all your monitoring data in one place. You can even share these dashboards with others or embed them into your website.
3. Automating Maintenance
Why not let your Pi take care of itself? By setting up automated scripts, you can have your Pi clean up old files, restart services, or even shut down if it gets too hot. This not only saves you time but also ensures your Pi stays in tip-top shape.
Common Issues and How to Fix Them
Even with the best monitoring tools, things can still go wrong. Here are some common issues you might encounter and how to fix them:
1. High CPU Usage
If you notice your CPU usage is consistently high, try identifying which processes are using the most resources. You can do this by using htop or Glances. Once you’ve identified the culprit, consider stopping or optimizing the process.
2. Low Disk Space
Running out of disk space is a common problem, especially if you’re storing a lot of data. Use the df command to check your disk usage and identify which directories are taking up the most space. You can then delete unnecessary files or move them to an external drive.
3. Overheating
Overheating can cause performance issues and even damage your Pi. To prevent this, make sure your Pi is well-ventilated and consider adding a heatsink or fan. You can also monitor the temperature using tools like Glances and set up alerts if it gets too hot.
Tips for Optimizing Your Raspberry Pi
Now that you know how to monitor your Raspberry Pi’s resources, here are a few tips to help you optimize its performance:
- Upgrade Your SD Card: A faster SD card can significantly improve your Pi’s performance. Look for cards with high read/write speeds.
- Adjust Power Settings: If you’re not using certain peripherals, consider disabling them to save power and reduce heat.
- Use Lightweight Software: Stick to lightweight applications and avoid installing resource-heavy programs unless absolutely necessary.
- Regular Maintenance: Schedule regular maintenance tasks, like cleaning up old files and updating your software, to keep your Pi running smoothly.
Conclusion
And there you have it—everything you need to know about Raspberry Pi resource monitoring. By keeping an eye on your Pi’s performance, you can prevent issues, optimize its settings, and make the most out of its capabilities. Whether you’re a seasoned pro or just starting out, resource monitoring is an essential skill for any Raspberry Pi user.
So, what are you waiting for? Get out there and start monitoring those resources! And don’t forget to share your experiences in the comments below. We’d love to hear how you’re using Raspberry Pi resource monitoring to take your projects to the next level.
Table of Contents
- Why Raspberry Pi Resource Monitoring Matters
- Understanding the Basics of Resource Monitoring
- Key Metrics to Monitor
- Tools for Raspberry Pi Resource Monitoring
- Setting Up Resource Monitoring on Your Raspberry Pi
- Advanced Monitoring Techniques
- Common Issues and How to Fix Them
- Tips for Optimizing Your Raspberry Pi
- Conclusion