Let’s cut to the chase, shall we? Logging into your IoT desktop remotely from a Mac can be a game-changer for productivity. Whether you’re working from home, traveling, or just want to access your office computer while sipping coffee in your favorite café, remote access is the way to go. But how do you set it up without losing your mind? That’s what we’re here to talk about today.
In this digital age, having seamless access to your IoT-enabled desktop from anywhere is not just a luxury but a necessity. From managing smart devices to accessing critical files, the ability to log in remotely can save you time and headaches. But let’s face it, setting up remote access isn’t always straightforward, especially when you’re dealing with a Mac.
Don’t worry, though. This guide will walk you through everything you need to know about logging into your IoT desktop remotely using a Mac. From setting up the basics to troubleshooting common issues, we’ve got you covered. So, grab your favorite drink, sit back, and let’s dive in.
Read also:Rebecca Romney The Remarkable Journey Of An Influential Figure
Why Remote IoT Desktop Login Matters
First things first, why should you care about remote IoT desktop login? Well, here’s the deal: IoT devices are everywhere. From smart thermostats to security cameras, these gadgets rely on a central system—often your desktop—to function properly. If you’re not physically near your desktop, accessing it remotely becomes crucial.
Let’s break it down:
- You can monitor and control IoT devices from anywhere.
- Access important files and applications without needing to be in the office.
- Streamline workflow by managing multiple tasks from a single interface.
- Ensure security by keeping an eye on your IoT network even when you’re away.
Now, if that doesn’t sound like a win-win situation, I don’t know what does. But how exactly do you get started with remote access on a Mac? That’s where we come in.
Setting Up Remote Access for IoT Desktop on Mac
Alright, let’s talk about the nitty-gritty of setting up remote access for your IoT desktop using a Mac. It’s not as complicated as it sounds, but there are a few steps you need to follow to make sure everything runs smoothly.
Step 1: Enable Remote Management on Your Mac
The first step is to enable remote management on your Mac. Here’s how you do it:
- Go to System Preferences on your Mac.
- Select Sharing from the list of options.
- Check the box for Screen Sharing or Remote Management, depending on your needs.
- Set a password for security purposes. Trust me, you don’t want random people accessing your computer.
Once you’ve done this, your Mac will be ready to accept remote connections. Easy, right?
Read also:Masiela Lusha The Rising Star Of Albanian Cinema
Step 2: Choose Your Remote Access Software
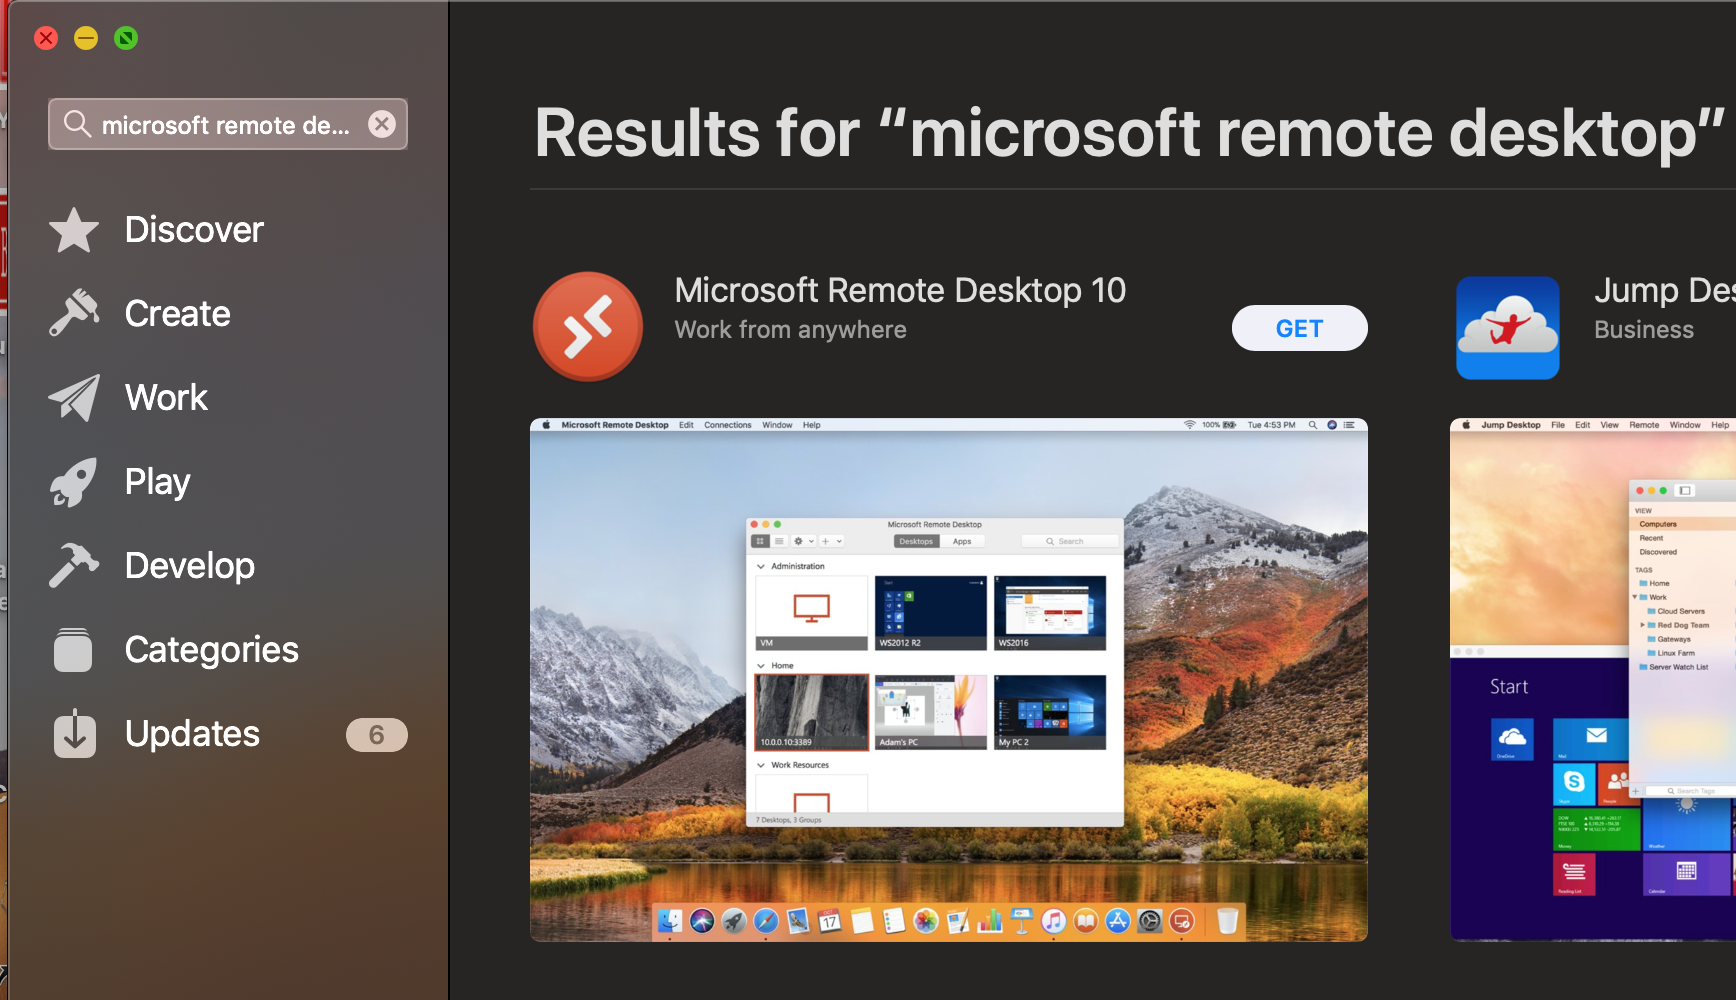
Now that your Mac is set up for remote access, it’s time to choose the right software. There are plenty of options out there, but here are a few of the best ones:
- TeamViewer: A popular choice for its ease of use and reliability.
- AnyDesk: Known for its fast performance and secure connections.
- LogMeIn: Offers a user-friendly interface and robust features.
- VNC Viewer: A classic option that works well with macOS.
Each of these tools has its own strengths, so it’s worth trying a few to see which one works best for you.
Connecting to Your IoT Desktop
So, you’ve got your Mac ready and your remote access software installed. What’s next? Connecting to your IoT desktop, of course!
Step 1: Get Your Desktop’s IP Address
Before you can connect, you’ll need to know the IP address of your IoT desktop. Here’s how to find it:
- On your IoT desktop, go to the command prompt or terminal.
- Type in
ipconfig(Windows) orifconfig(Linux/Mac). - Look for the IPv4 address under your active network connection.
Write this down because you’ll need it to establish the connection.
Step 2: Establish the Connection
Now that you have the IP address, it’s time to connect:
- Open your remote access software on your Mac.
- Enter the IP address of your IoT desktop in the connection field.
- Click Connect and enter the password you set earlier.
Voilà! You should now be connected to your IoT desktop. Pretty cool, huh?
Troubleshooting Common Issues
Let’s face it, technology isn’t perfect. If you run into any issues while trying to log in remotely, here are a few troubleshooting tips:
- Connection Refused: Make sure your IoT desktop is turned on and connected to the internet.
- Wrong IP Address: Double-check that you’ve entered the correct IP address.
- Firewall Block: Ensure that your firewall isn’t blocking the remote access software.
- Password Issues: If you’re having trouble with the password, try resetting it.
If none of these work, it might be time to consult the software’s support team or check online forums for additional help.
Security Considerations for Remote IoT Login
Security should always be a top priority when dealing with remote access. After all, you don’t want unauthorized users gaining access to your IoT desktop. Here are a few tips to keep your system secure:
- Use strong, unique passwords for both your Mac and remote access software.
- Enable two-factor authentication (2FA) whenever possible.
- Regularly update your software to patch any security vulnerabilities.
- Limit access to trusted devices and IP addresses.
By following these best practices, you can ensure that your remote IoT login remains safe and secure.
Advanced Tips for Power Users
If you’re a power user looking to take your remote IoT login to the next level, here are a few advanced tips:
Tip 1: Set Up a Static IP Address
A static IP address ensures that your IoT desktop always has the same address, making it easier to connect. Here’s how to set it up:
- Go to your router’s settings page.
- Find the DHCP reservation section.
- Add your IoT desktop’s MAC address and assign a static IP.
Tip 2: Use a Remote Access Gateway
A remote access gateway can simplify the connection process by acting as a middleman between your Mac and IoT desktop. Some popular options include:
- NGROK
- ZeroTier
- Tailscale
These tools can help bypass firewall restrictions and make connections more reliable.
Real-World Applications of Remote IoT Login
Now that you know how to set up and use remote IoT login, let’s talk about some real-world applications:
- Home Automation: Control smart home devices like lights, thermostats, and security cameras from anywhere.
- Business Management: Access critical business files and applications without needing to be in the office.
- Remote Monitoring: Keep an eye on IoT sensors and devices for maintenance and troubleshooting.
- Collaboration: Share screens and work on projects with team members in different locations.
The possibilities are endless, and with the right setup, you can unlock a whole new level of productivity.
Conclusion and Call to Action
And there you have it, folks. Logging into your IoT desktop remotely from a Mac doesn’t have to be a headache. With the right tools and a bit of know-how, you can access your system from anywhere in the world. Whether you’re managing smart devices, working on important files, or collaborating with team members, remote access is a game-changer.
So, what are you waiting for? Give it a try and see how it can improve your workflow. And don’t forget to leave a comment below or share this article with your friends and colleagues. Who knows, you might just help someone else solve their remote access woes.
Table of Contents
- Why Remote IoT Desktop Login Matters
- Setting Up Remote Access for IoT Desktop on Mac
- Connecting to Your IoT Desktop
- Troubleshooting Common Issues
- Security Considerations for Remote IoT Login
- Advanced Tips for Power Users
- Real-World Applications of Remote IoT Login
- Conclusion and Call to Action